

Faculty Sites: Installing WordPress
WordPress is a blogging platform that can be used to create websites. It is flexible and customizable. This tutorial will show how to install WordPress on your UVU Faculty Hosted Site. For additional documentation on working in WordPress, visit wordpress.org.
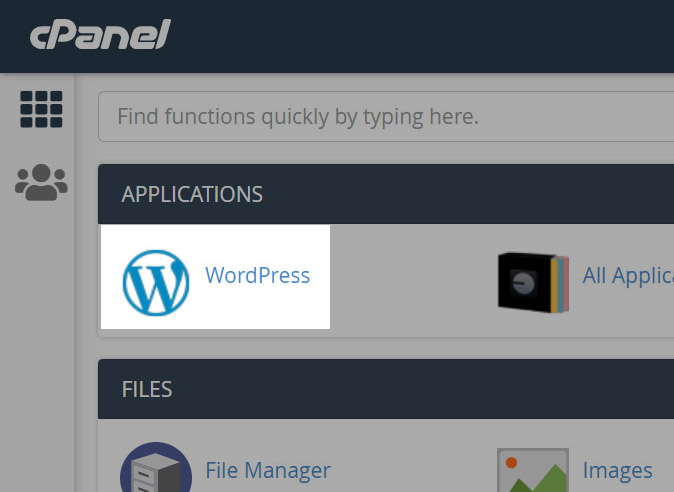
- While logged into your site, from your cPanel dashboard, click on the WordPress icon:
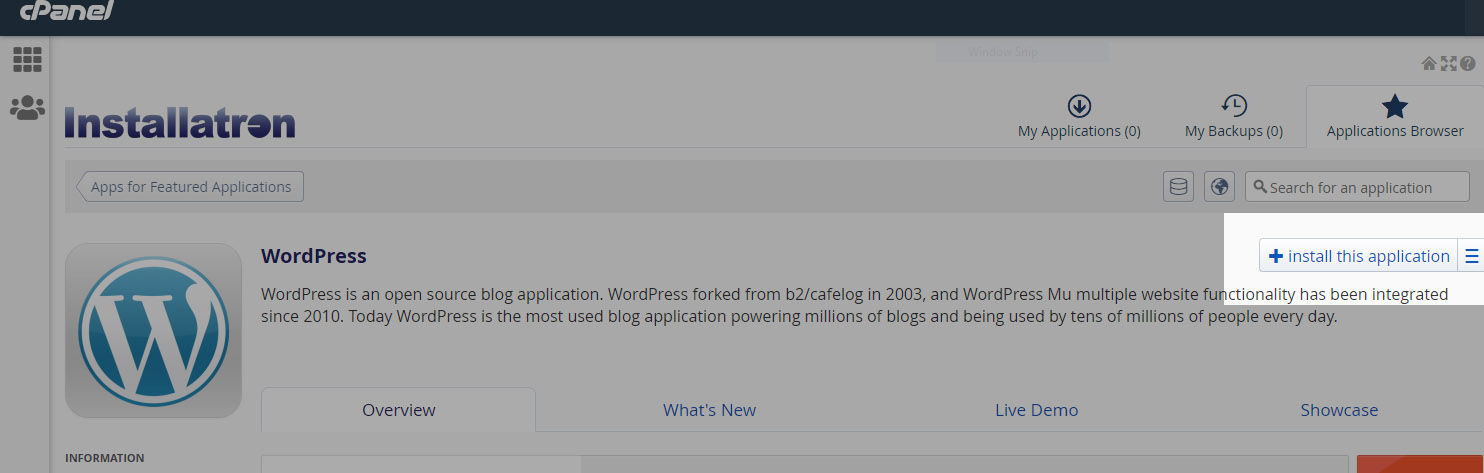
- You will be directed to "Installatron," where you can choose to install WordPress
by clicking the
- Review and make necessary adjustments to the installation settings. Most of these
settings can be adjusted later, if necessary.
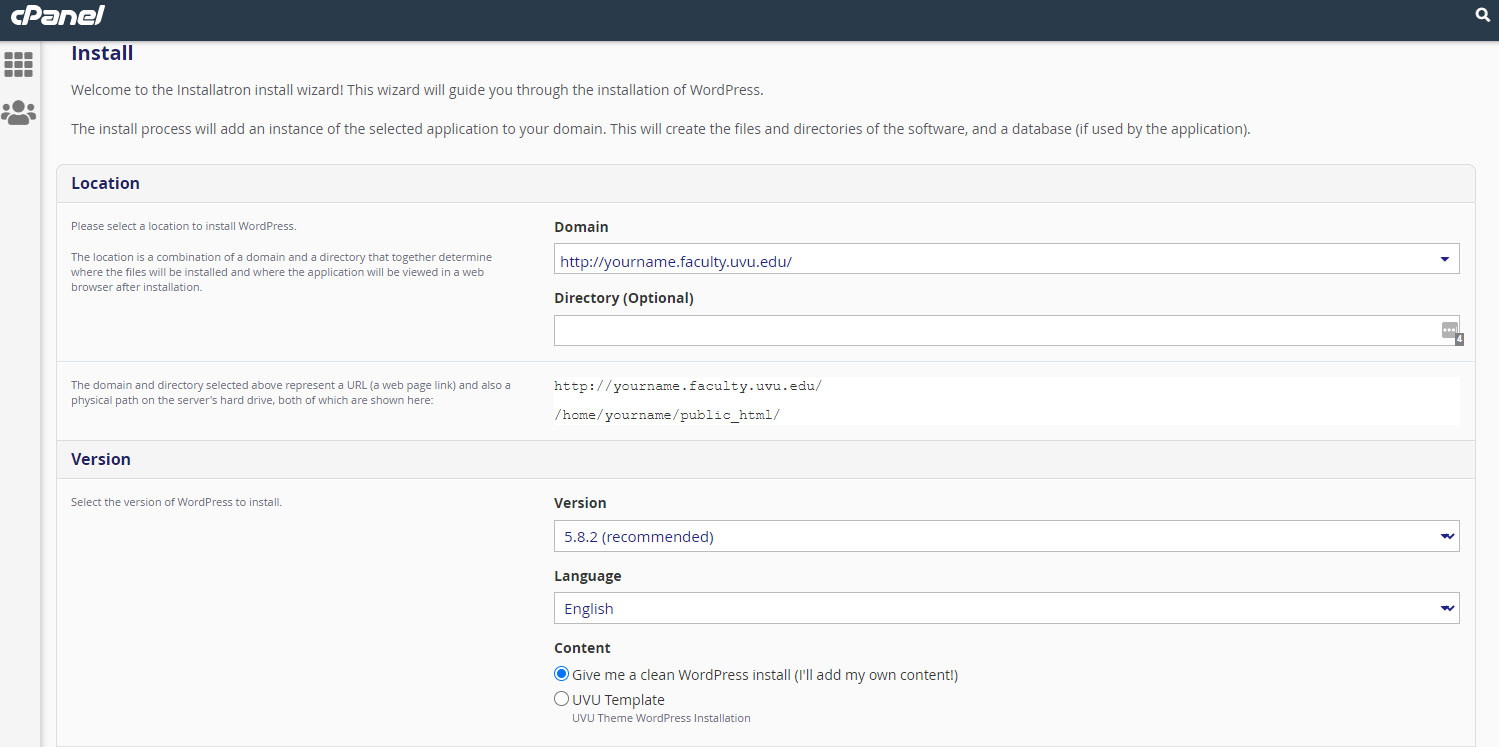
- Domain: keep default value
- Directory: keep default value
- Version: keep default value
- Language: choose preferred interface language
- Content:
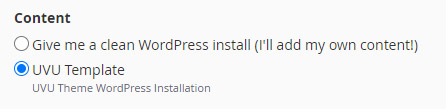
- "Give me a clean WordPress install" will create a new, default WordPress site with no predefined content.
- "UVU Template" will install a "preformatted" installation of WordPress with UVU branding.
If this option is chosen, you will be able to add your own content as needed, but
may use the preexisting content as a starting point.Important: if you do not choose "UVU Template" at this stage, you will not be able to change this setting later; you would need to uninstall and reinstall your WordPress site to select this option later.
- WordPress EULA: review and accept the end-user license agreement
- Automatic Update: "Update to any new version" is recommended so that security updates and other fixes are automatically installed when available.
- WordPress Plugin Automatic Update: "Update WordPress plugins as new versions become available" is recommended.
- WordPress Theme Automatic Update: "Update WordPress themes as new versions become available" is recommended.
- Automatic Update Backup: "Create a backup and automatically restore the backup if the update fails" is recommended.
- Administrator Username: Choose a username that you will use to access your WordPress site..
- Administrator Password: Enter a secure password.
- Administrator Email: Enter your email address.
- Website Title: Give your new site a name. This will appear in search results and in visitors' browser tab.
- Website Tagline: Enter a tagline for your new site.
- Limit Login Attempts: "Yes, limit failes login attempts for increased security" is recommended.
- Enable Multi-site: "No, do not enable" is recommended.
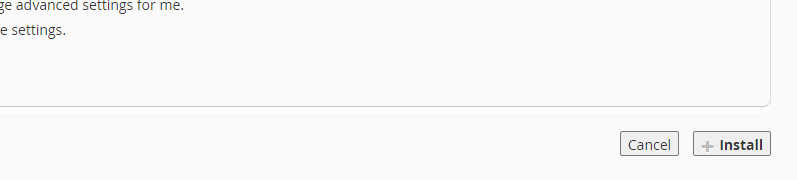
- Advanced Setting Management: "Automatically managed advanced settings for me" is recommended.
- Click "Install."
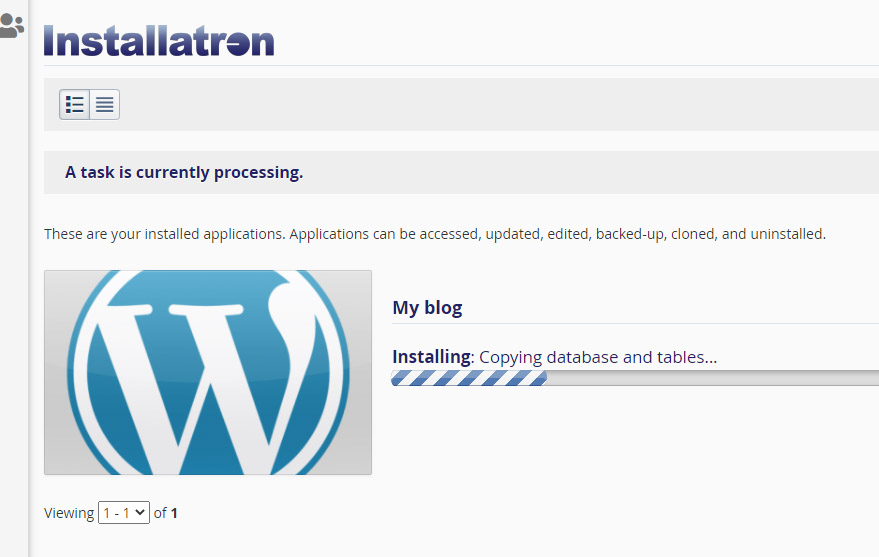
- Your instance of WordPress will be installed:
- Upon installation, you will see the details of your new WordPress site. To go to the
WordPress dashboard, click the link that includes [yourname].faculty.uvu.edu/wp-admin/:

- After installation, you will be able to access the admin login for your WordPress
site by visiting https://[yourname].faculty.uvu.edu/wp-admin/
- Use the user name and password that you chose when installing WordPress to log in.